Wednesday 23 February 2011

Task 2: 100years of GF Smith Paper... Experimenting with Type Again

I experimented again using Type. I wanted to create Type using paper, instead of using text from the computer. I first started out by cutting out the letters of the information needed on the poster. Which is, 100 years of GF Smith Paper, including the museum and the date of the anniversary.


Each letter is drawn in a 5cm by 5cm box. 


I kept both cut outs of the letters, so I can experiment later on photoshop and see whether it will go well on a poster. 


I wanted to experiment by screwing the letters together and then reopening them again, to create a crease. Hopefully creating a better effect on the letters. 


I'm going to now use these letters and insert them into photoshop and experiment making a poster for The 100th Anniversary for GF Smith Paper!


Task 2: 100years of GF Smith Paper... Experimenting with Type

I have now been looking at how to produce a poster for the 100 years of GF Smith Paper. I'm starting it off by focusing on type. The really love the work of Yulia Brodskaya. I especially love her use of paper with Type and so I wanted to experiment using her technique into my poster.

An example of Yulia Brodskaya work.....


These are my results........


I first started off cutting strips of paper, with a 2cm width.


Here I'm experimenting with the strips of paper, seeing what curves i could make for my design. 


Because the poster is for the 100th anniversary of GF Smith Paper, I thought it would only be fitting if I point out the keys points of the subject. For example the '100' years and the companies name, 'GF'.


I did enjoy experimenting with this technique from Yulia Brodskaya. However I don't think i'll incorporate this work on Type in my poster. 


Task 1: Hanging my Final Piece

I tested hanging my final sculpture. Just to purely see if the weight of the paper could hold as well as to see how the 3 sculptures look along each other.


Sunday 20 February 2011

Task 1: Final Paper Designs.....

By incorporating all my design ideas from my workshops and at home, I was able to create my final designs. I mainly used the idea of the paper game sculpture and by making lots of models of them and combining them together, i was able to create some really interesting paper sculptures.

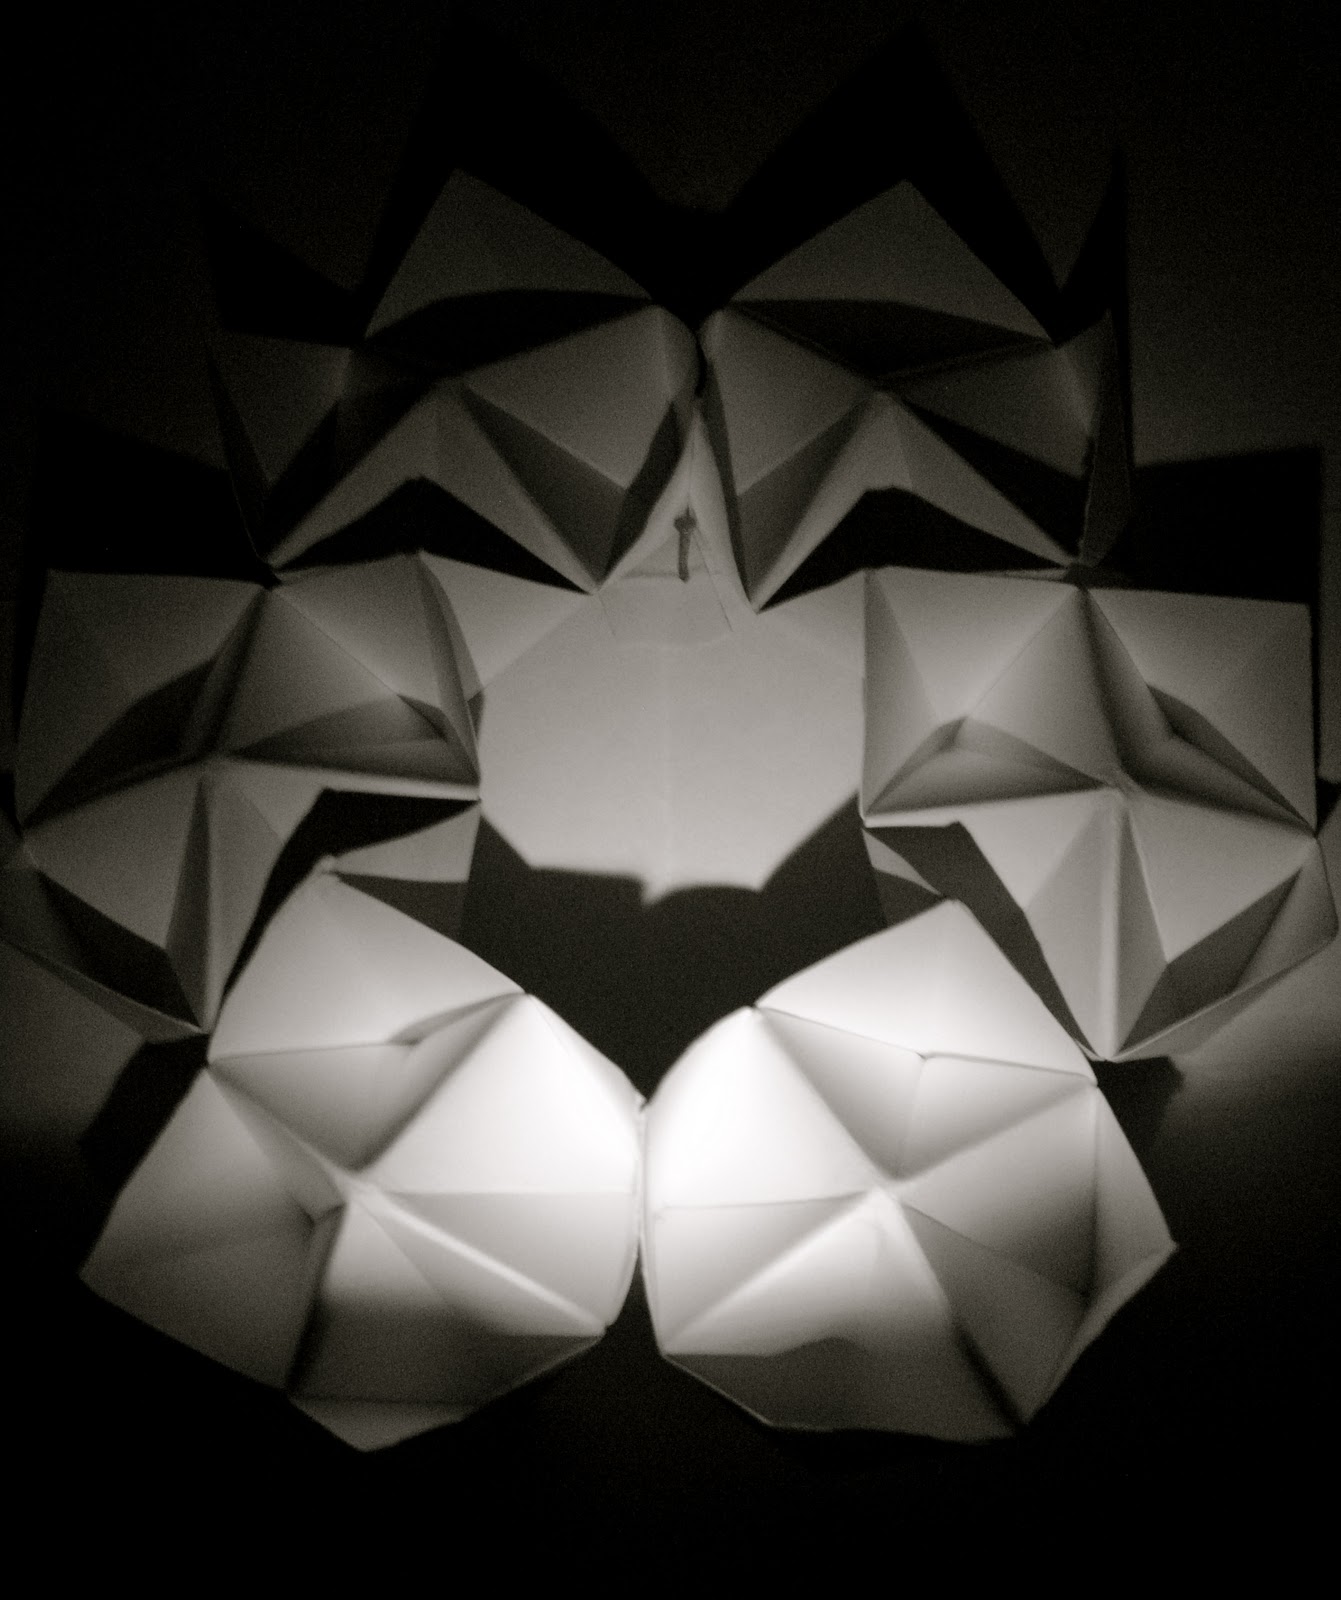
I produced a similar design before, however this time I opened layers of the sculpture which to my luck created some really interesting shapes and pattens.


A PROTOTYPE..........

I first produced a prototype of this design. So I could find which areas would look best and which wouldn't. 


Using double sided tape, I was able to stick together the edges and also to make it stronger. 


Final Designs.......


Due to the use of lighting , the sculptures created a nice glow in the photographs. Which I think looks really effective. 


The same size sculpture placed on top of each other....


A Bigger version of the sculpture.....


Final Piece.....


With the final design, I simply layered all 3 of the sculptures on top of each other. Placing the biggest sculpture at the bottom and the smallest at the top. I find the sharp points give a good effective. And also I especially like the contrast of colour, which is due to the photography. 


Saturday 12 February 2011

Task 1 - Richard Sweeney workshop session 3....

In this workshop session we worked on symmetry. so I thought i'll create symmetry from making them paper folded games, where you would pick a number and find a joke from it. So using that folding method, i created lots of them and tried to combine them together.

These are my results...........


Top


Bottom


I then combined all the sculptures together using double sided tape. And i stuck them together so that the bottom of the structure would point outwards. 


Using a torch i was able to create good shadow to the sculpture as i was photographing it. Also i found it created a nice contrast to the photograph. 


Faces?????


Because of the use of lighting on the sculptures, I think i created some interesting faces, with eyes and a mouth. 


Settees???

I then finally took photographs of the paper sculpture however from the other side. I found that it looked like mini settees.